A good bow is more than just the finishing touch on that perfect gift. It creates a little splash under the tree, lets you show off your skill, and literally completes the package.
Learning how to tie the best bow, like everything, takes practice. But we have collected a few tips from our in-house expert to serve as a cheat sheet as you perfect your bow-tying ability.
To start with, you’ll want to find good, quality ribbon – not thin or flimsy or something that easily frays when cut. Wired ribbon is preferred, as it allows you to fix the bow so that it keeps its shape well. You can find ribbon at most arts and crafts stores, and sometimes at florists and fabric shops, too.
The width of the ribbon is important, and it depends on how big the bow needs to be. We’re using a 2½-inch ribbon here, which will work nicely for anything from a cigar box to a shirt box, and even on boxes larger than that.
Making your packages beautiful can be expensive. It will take about 6 to 8 feet of ribbon for a single package, and high-end ribbon can cost up to $25 to $30 for a 10-foot roll, though you can find very nice ribbons at craft stores for half that price or less if you watch for the sales before the holidays.
When it comes to cutting ribbon, we prefer diagonal cuts to minimize fraying. Remember you can always trim afterward to make sure all of the tails are about the same angle and of appropriate length.
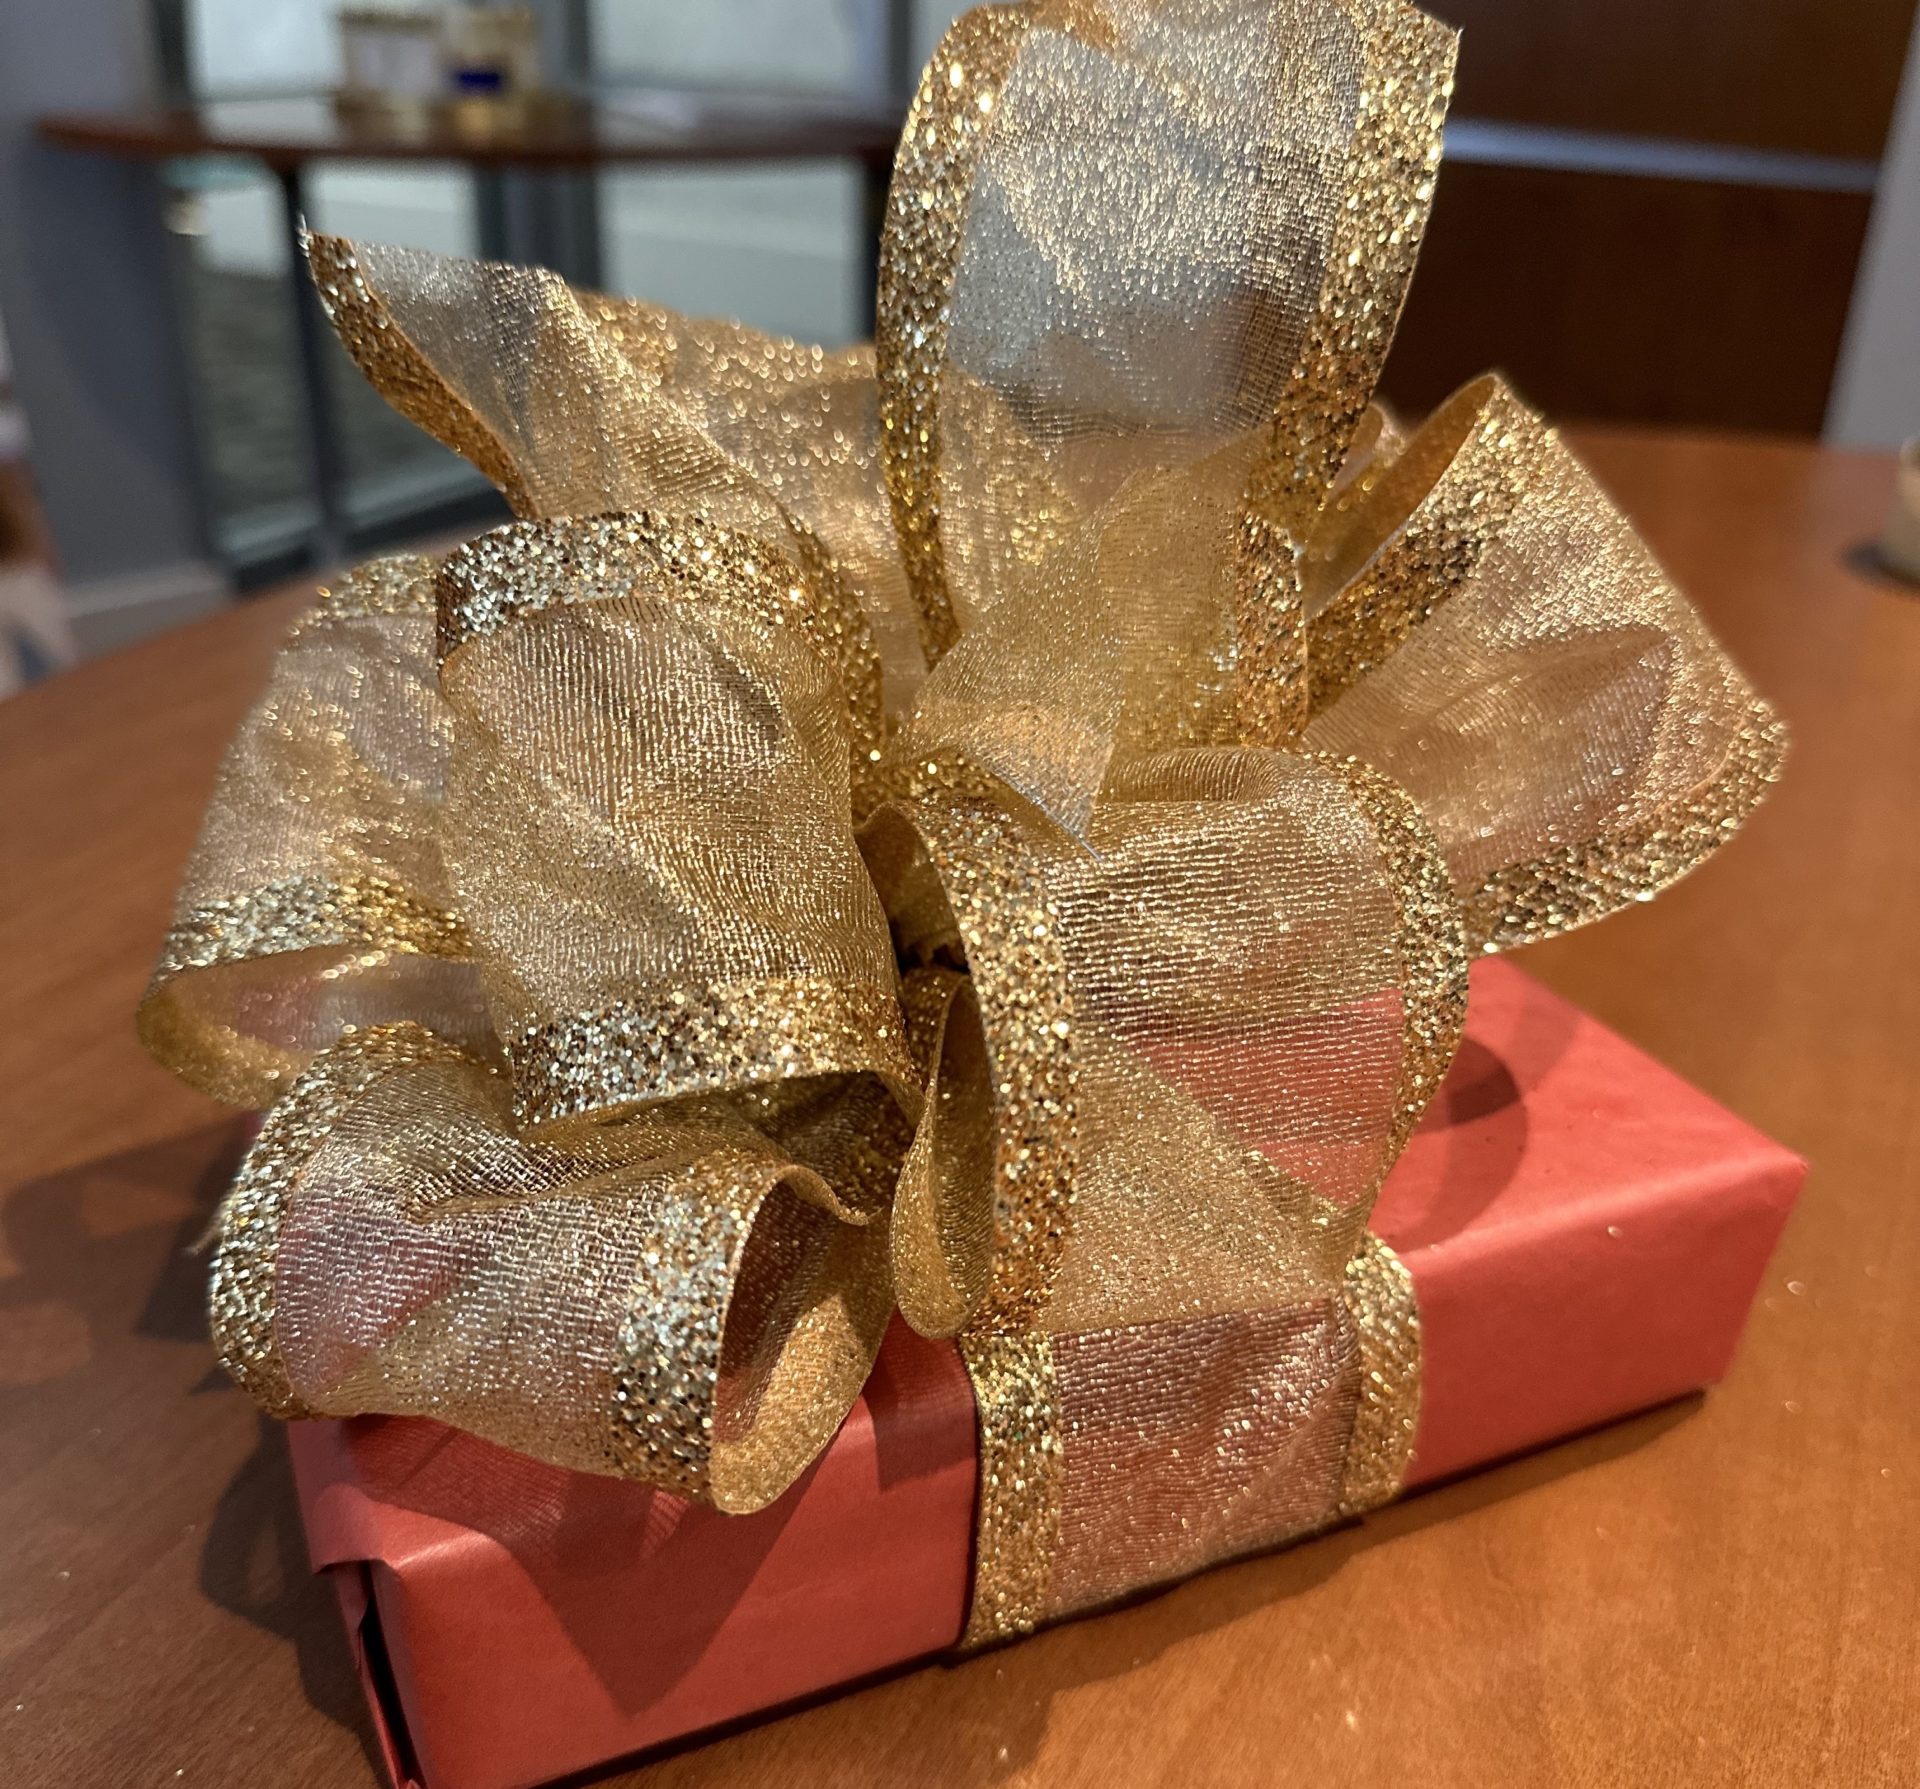
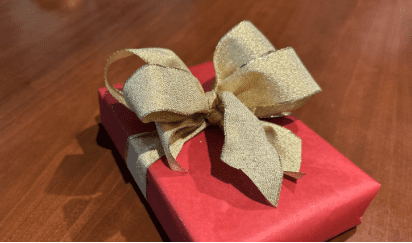
In our how-to steps below, we make a gold bow with eight loops (four on each side, before final touches). For larger boxes, you may want to do more than eight loops, though if you don’t quite have enough ribbon, or if you are making a bow for a smaller package, you could also make a bow with only six or four loops. This example, made with just four loops, also looks quite nice.
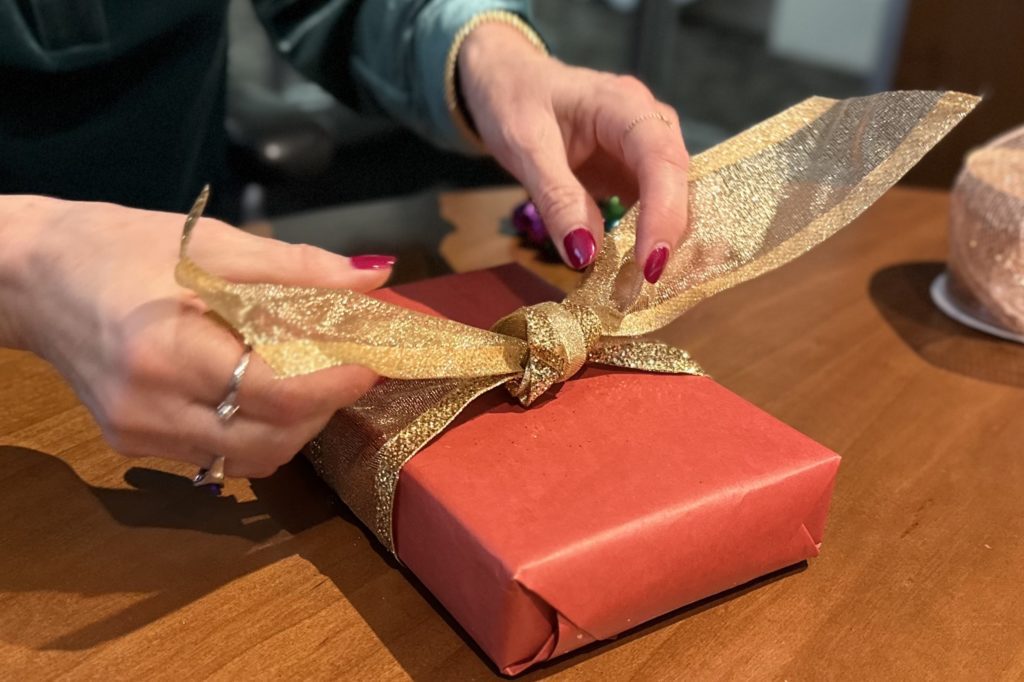
To begin, wrap a ribbon around the package’s middle one time and tie it in a knot on the top, leaving tails about 4 inches long. The square knot is easiest here; right over left, and then left over right. Set this aside for now. (If you’d like the ribbon to crisscross the package, horizontally and vertically, start by wrapping it over the top of the package, then twist and turn when the ribbon meets on the underside, to bring the ribbon back to the top. Finish with a knot on the top as described above.)
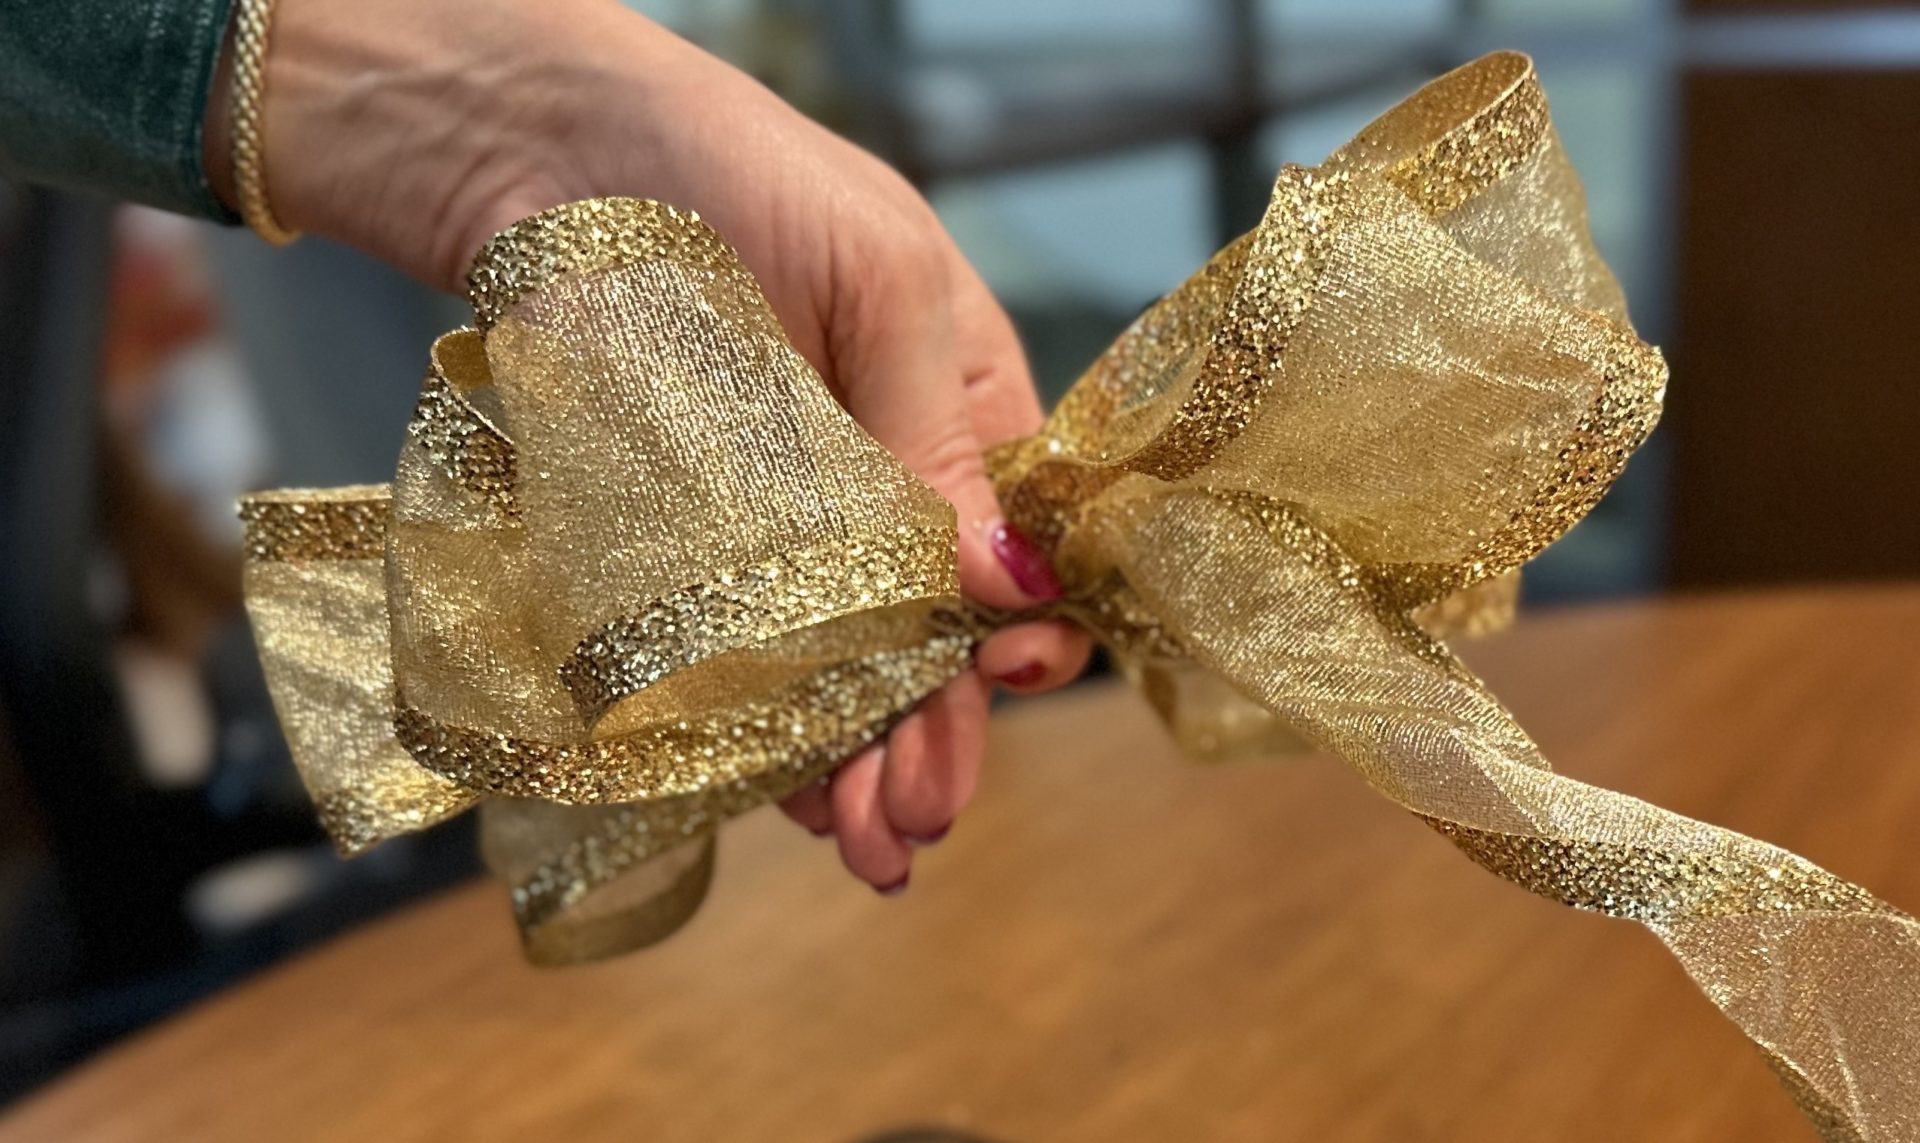
 Next, take the tail of the ribbon that’s still attached to the spool. Make one loop and crimp it with your fingers, then make a second loop and crimp.
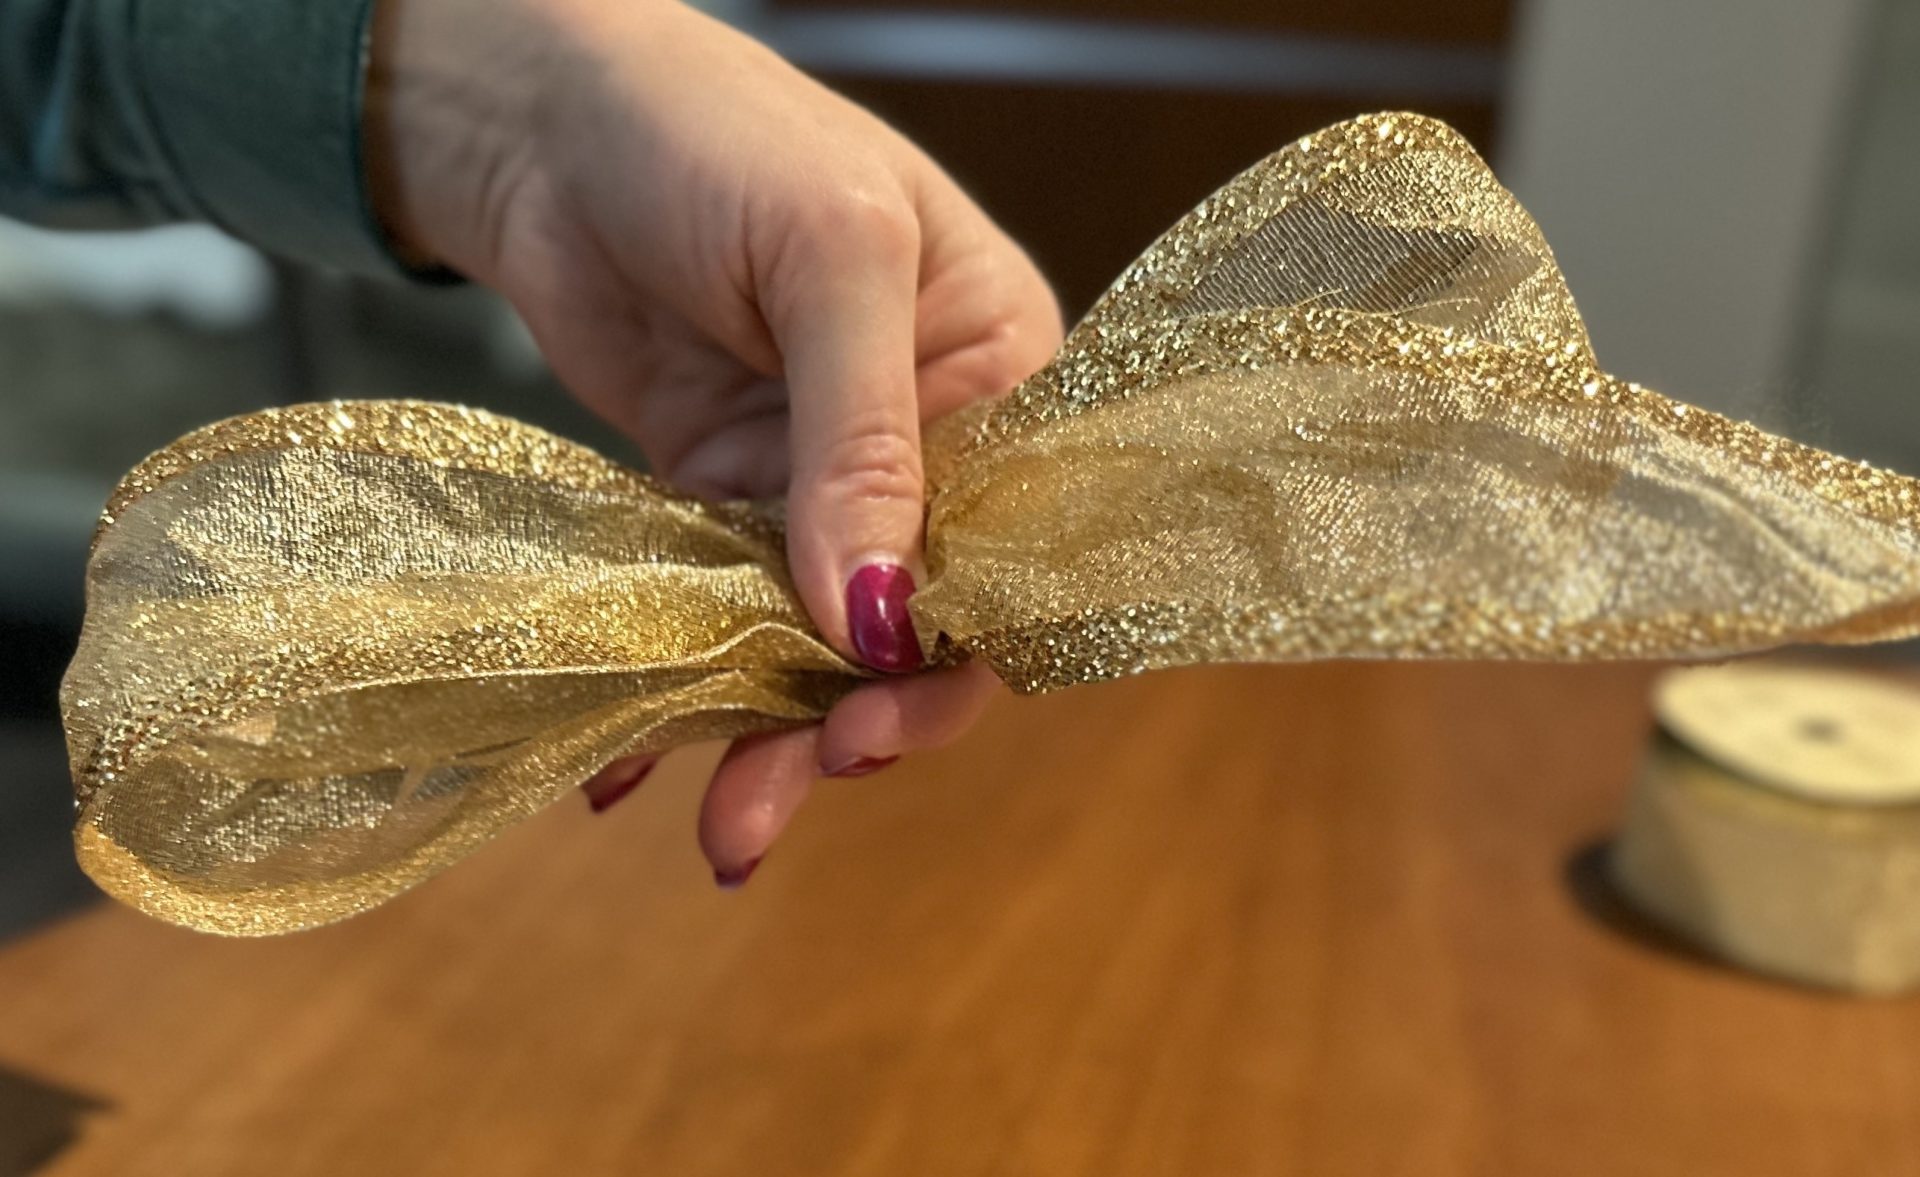 On the spool end of the ribbon, twist it so that the back of the ribbon faces you, and then make the third loop, keeping the middle crimped with your fingers. Twist it again and make the fourth loop. Continue crimping and twisting to make similarly sized loops until you have eight, or your desired number. Cut the ribbon from the spool, leaving about as much tail as you began with. And don’t release that crimp!
 Place and hold the crimped part of the bow onto the knot on the package. While holding it in place, take the two tails from the package and tie them in a knot – tightly! – over the crimped center of the bow
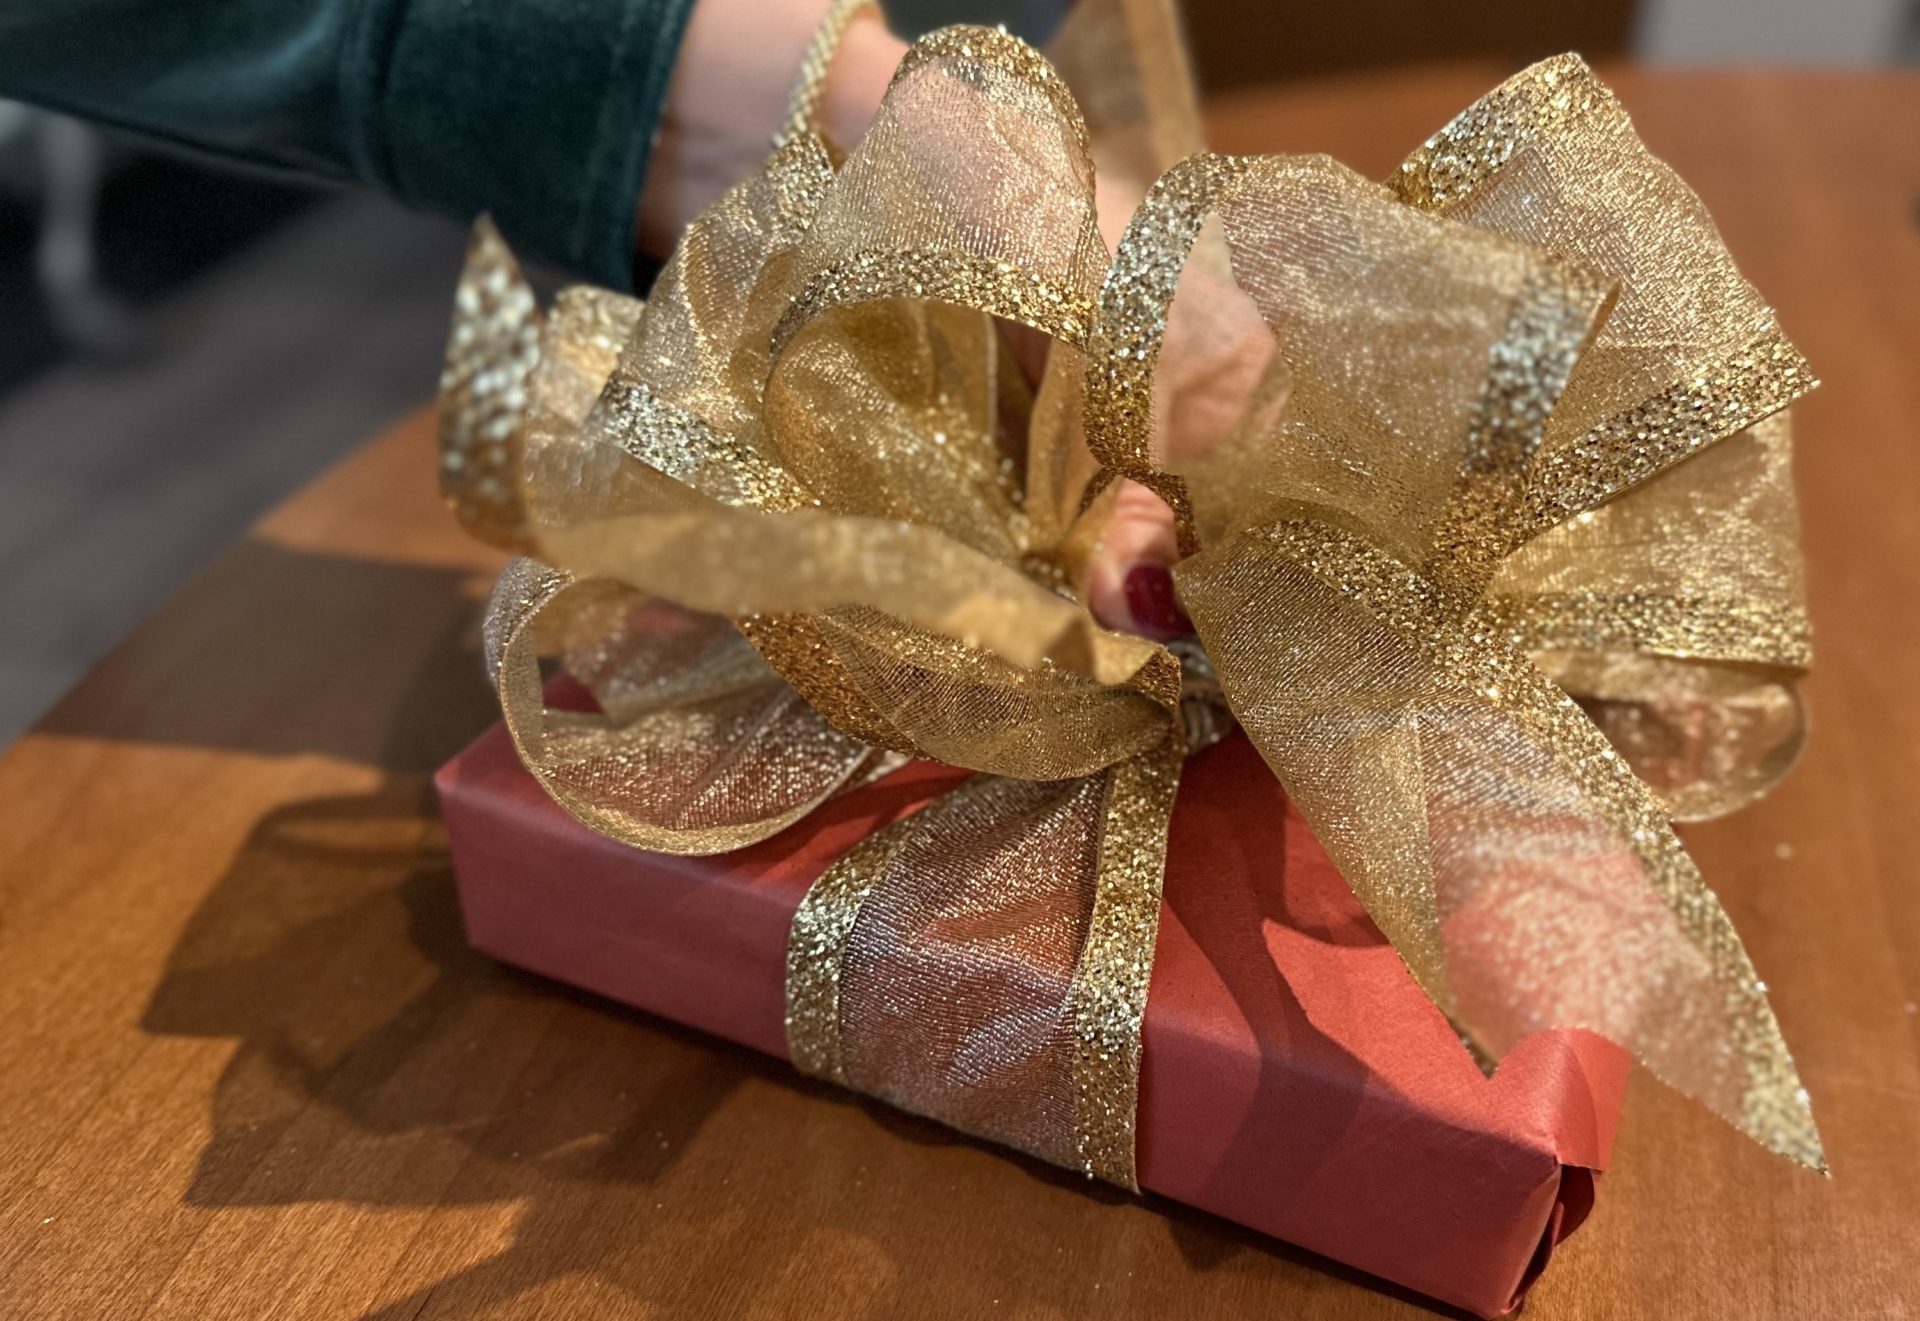 To arrange the bow, start by spreading the four tails out, so that they are under the loops. Next, take the bottom-most loop and gently pull it outward to open it up. Repeat this for all other loops, starting at the bottom and working toward the top.
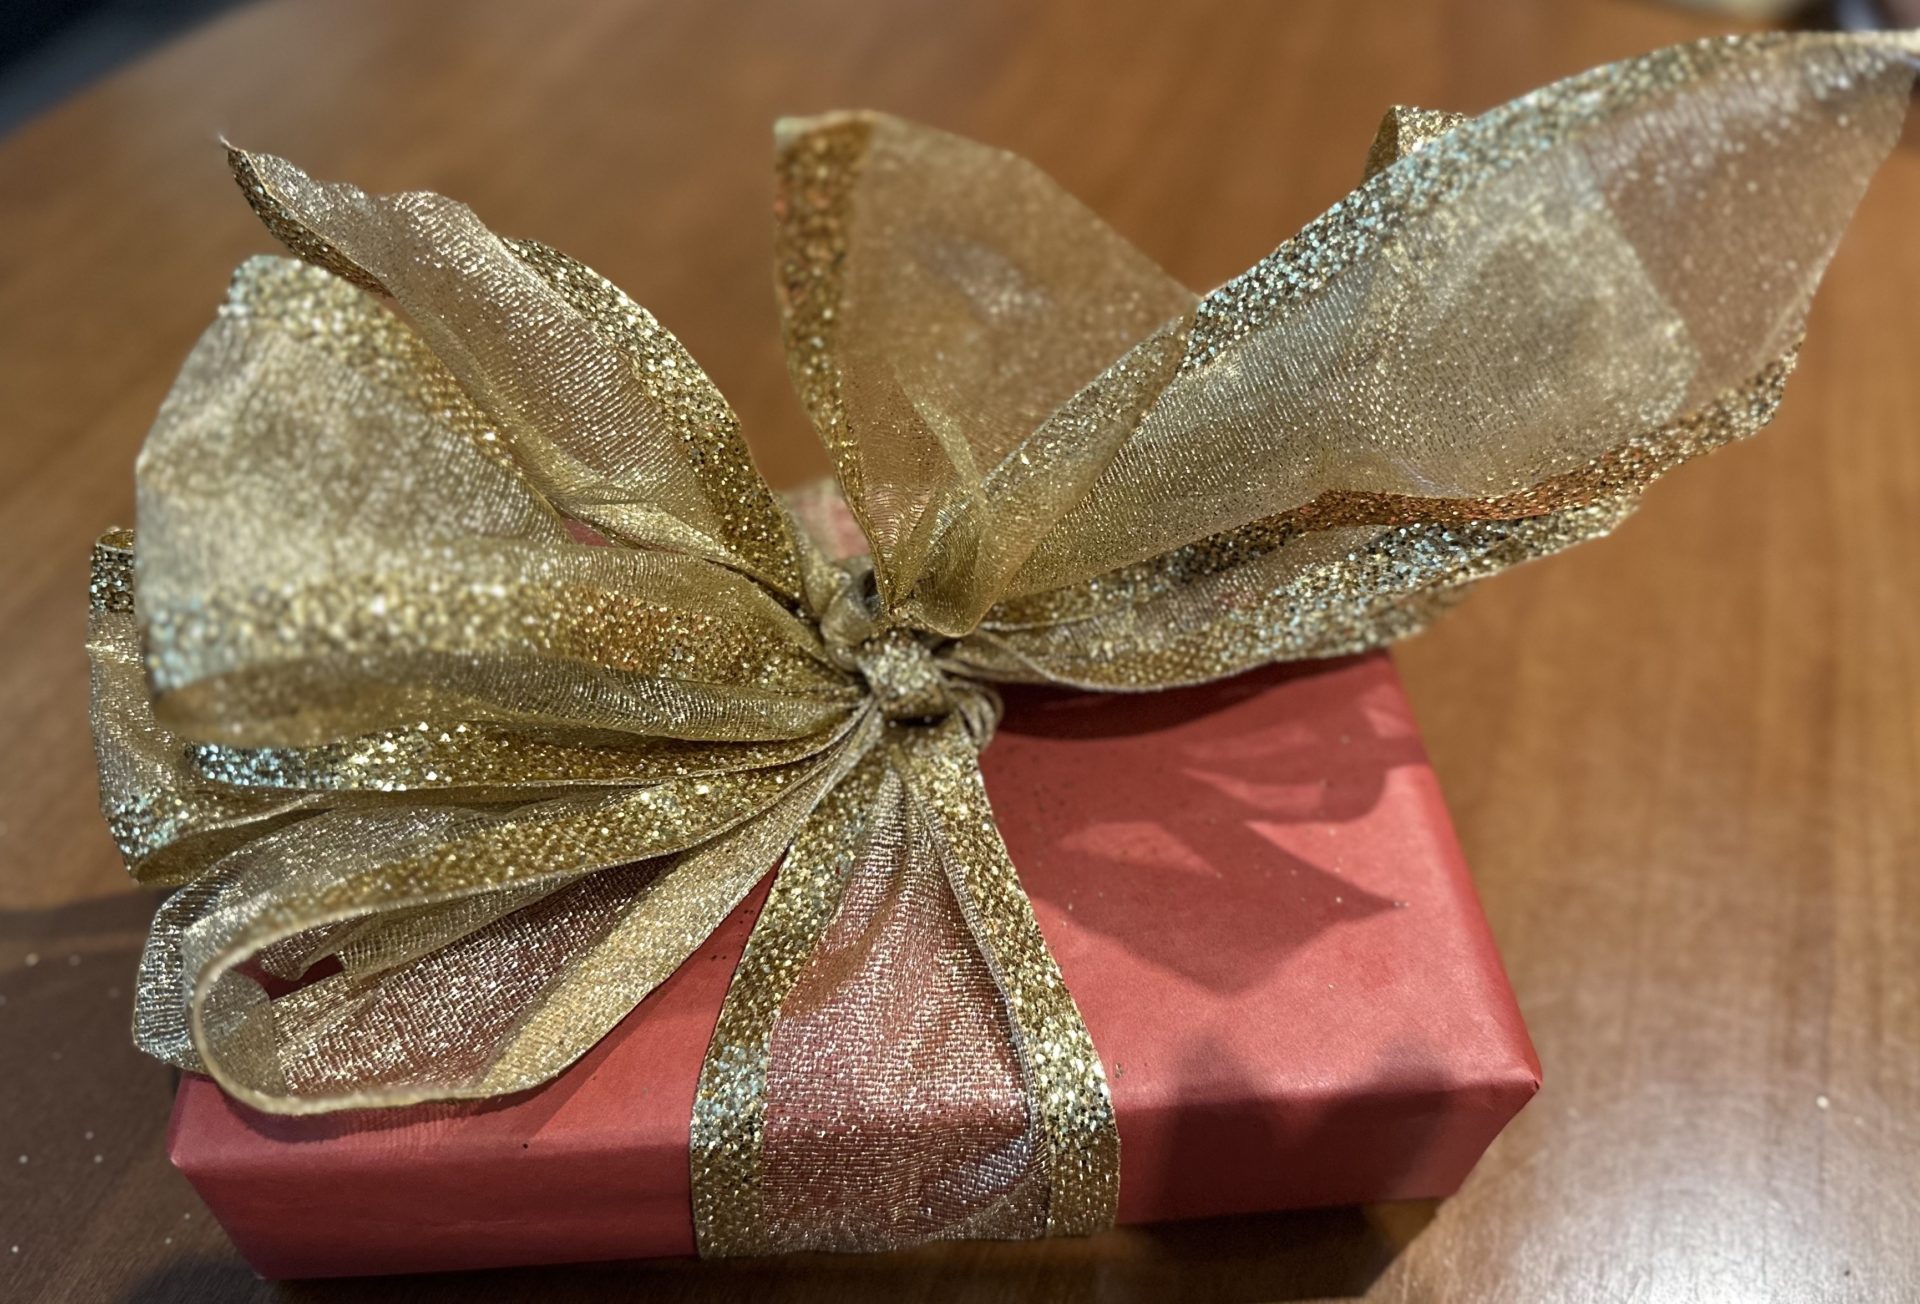 Continue shaping the eight loops until you have achieved your desired look. Finish your bow by trimming the tails, being sure to remove any frayed ends.
With a little practice, you will be tying bows like an expert – and your gifts will have an extra spark as they wait under the tree for Christmas morning.